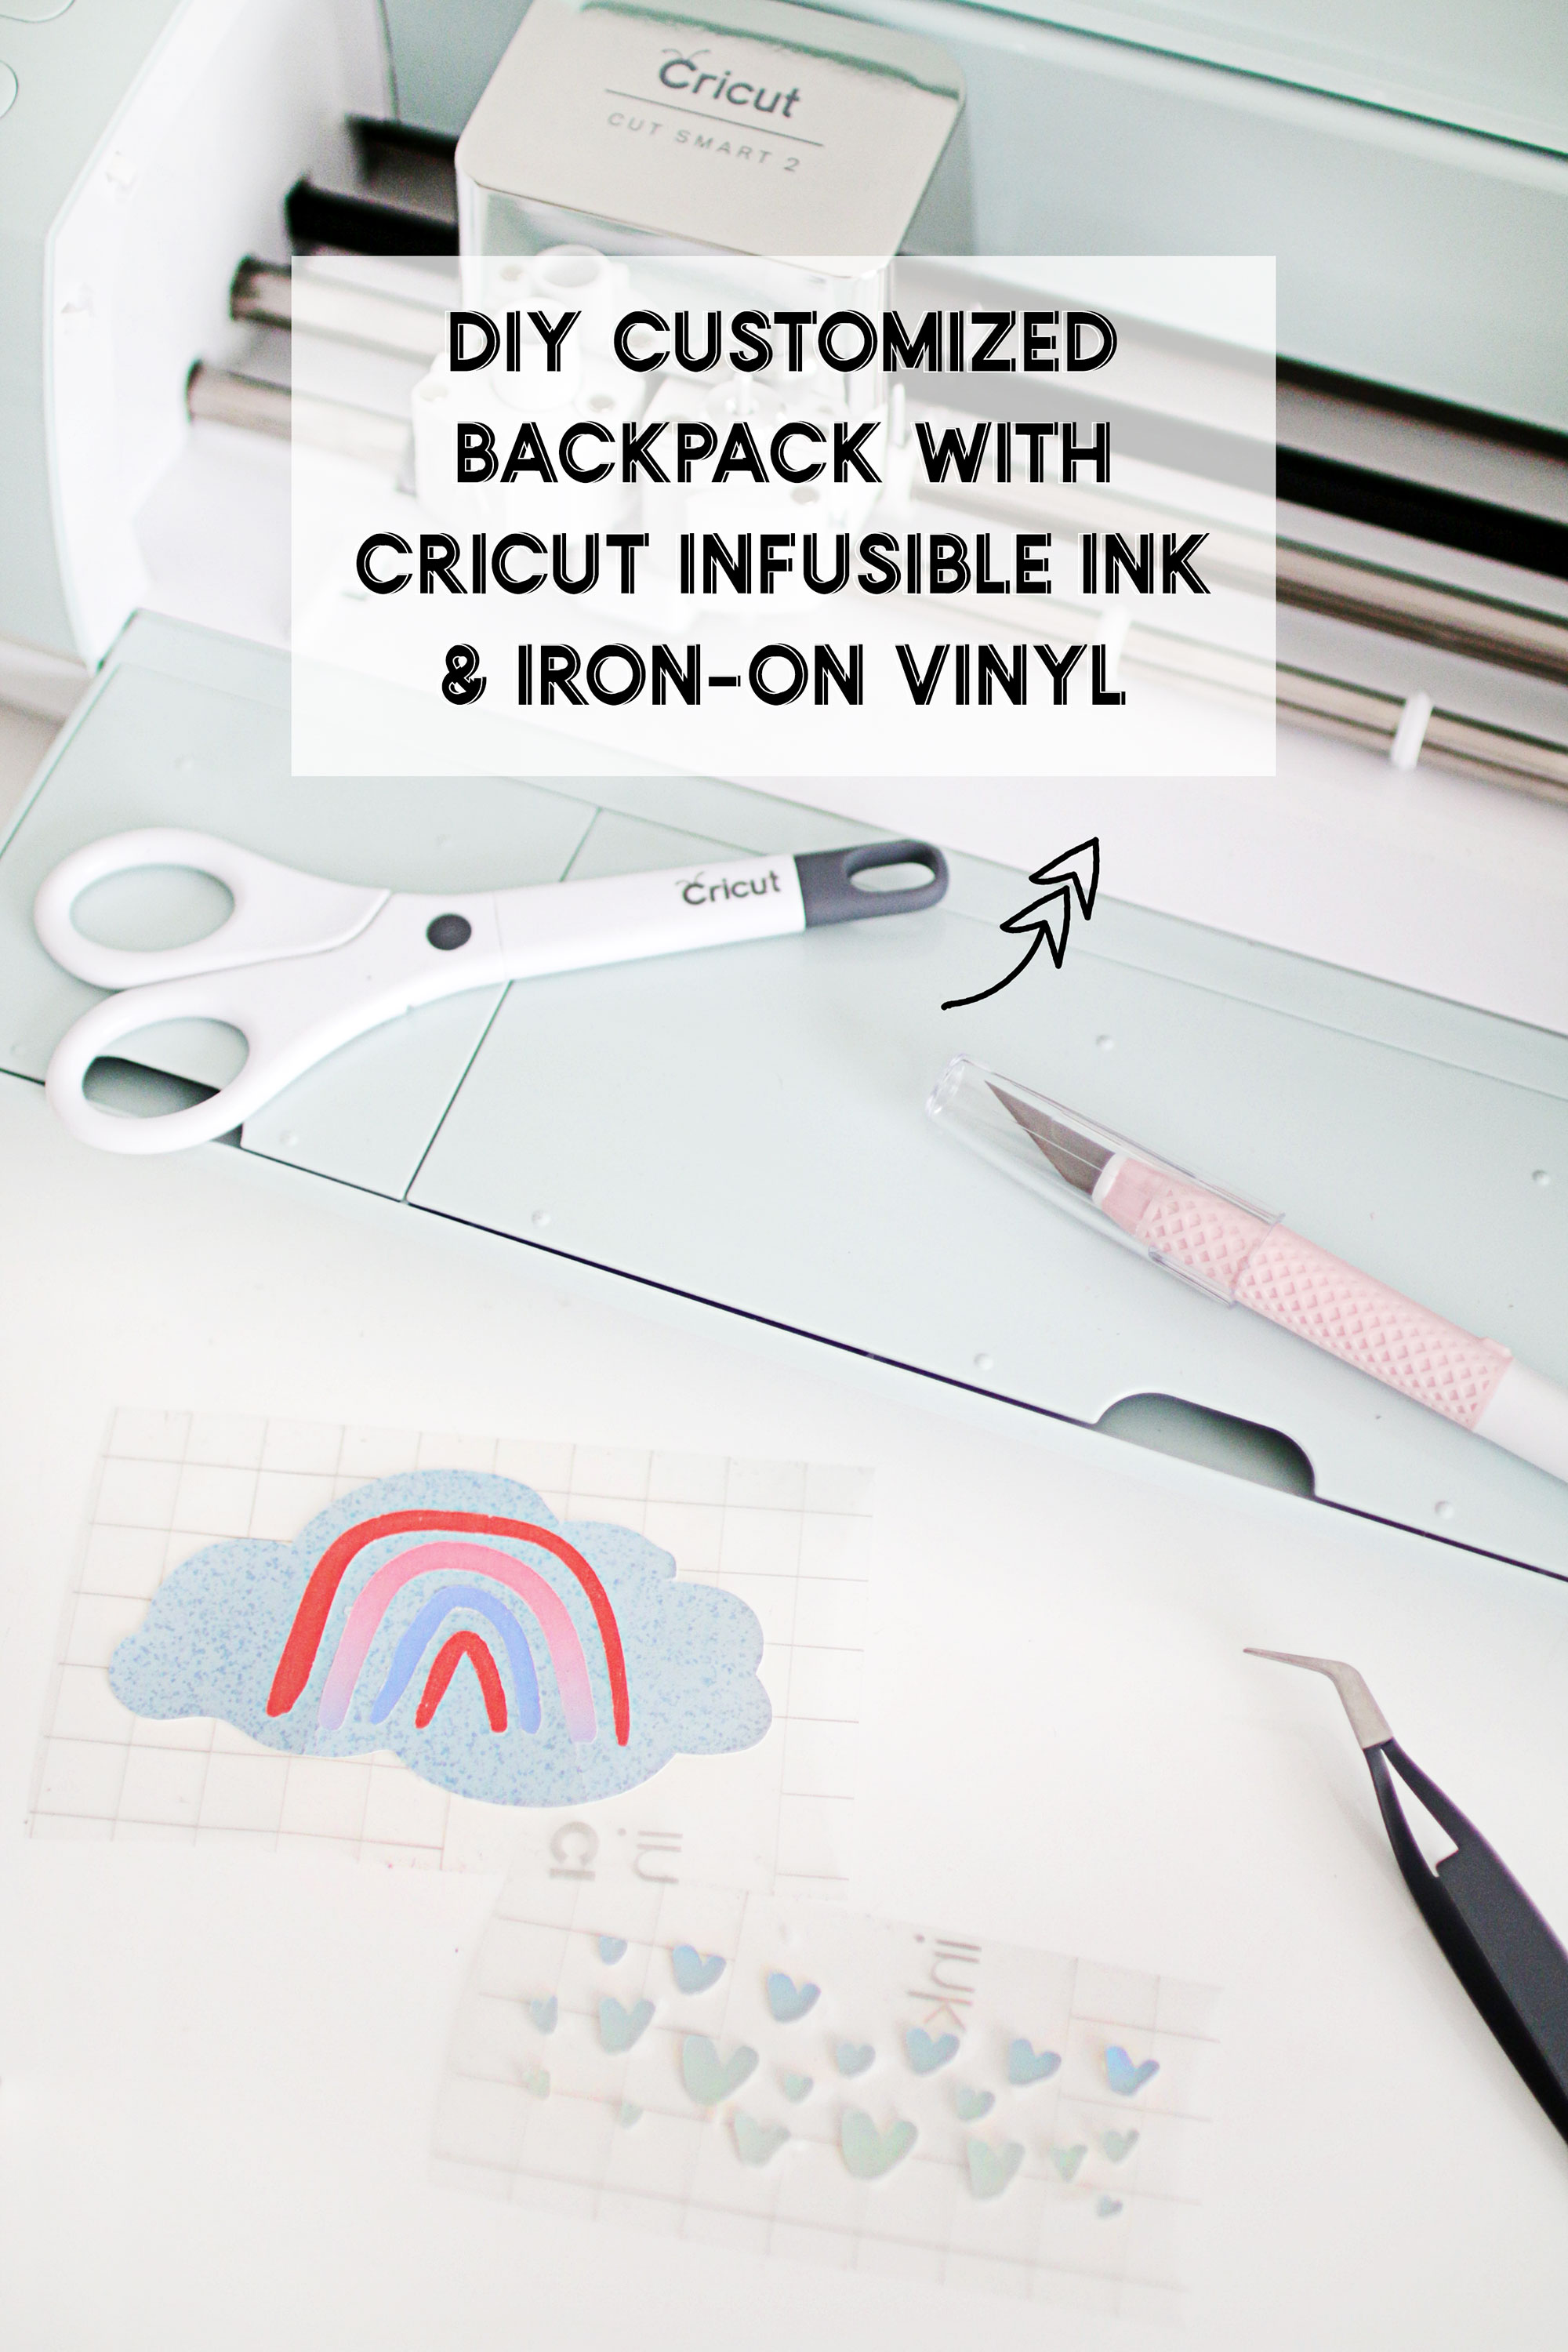
DIY Personalized Backpack with Cricut Infusible Ink and Iron-On Vinyl
This is a sponsored post written by me on behalf of Cricut. All opinions are 100% mine.
We’re still a few months away before our son turns 3, but since he is showing a lot of interest in learning and truly enjoys interacting with other kids, we’ve decided to start looking into pre-school. It’s not like we’re rushing but we’d rather have a head start on things especially it’s not like you’ll find a school that is the right fit immediately. At one point, I started checking out school activities and somehow, I ended up on Pinterest checking out ways to personalize school belongings. After all, having their items customized is an excellent way to differentiate which belongs to who. Plus, no kid wouldn’t appreciate having a “unique” piece that they can fully call their own. It’s also a plus if they were able to choose and design their own stuff. Some parents have considered personalizing an item (or two), but shied away from the thought, thinking it might be too difficult. Honestly, it is very EASY and takes very little time. While I won’t be needing a backpack or lunchbox to customize anytime soon, I have given it a try for the Backpacks of Love Project. It was sure a fantastic learning experience for me since I too was a newbie when it comes to personalizing a bag. This project would also be a great back-to-school project that you can work on with your child. Another idea would be as a gift or memorabilia. Ready to make your own? You’re going to need these supplies:
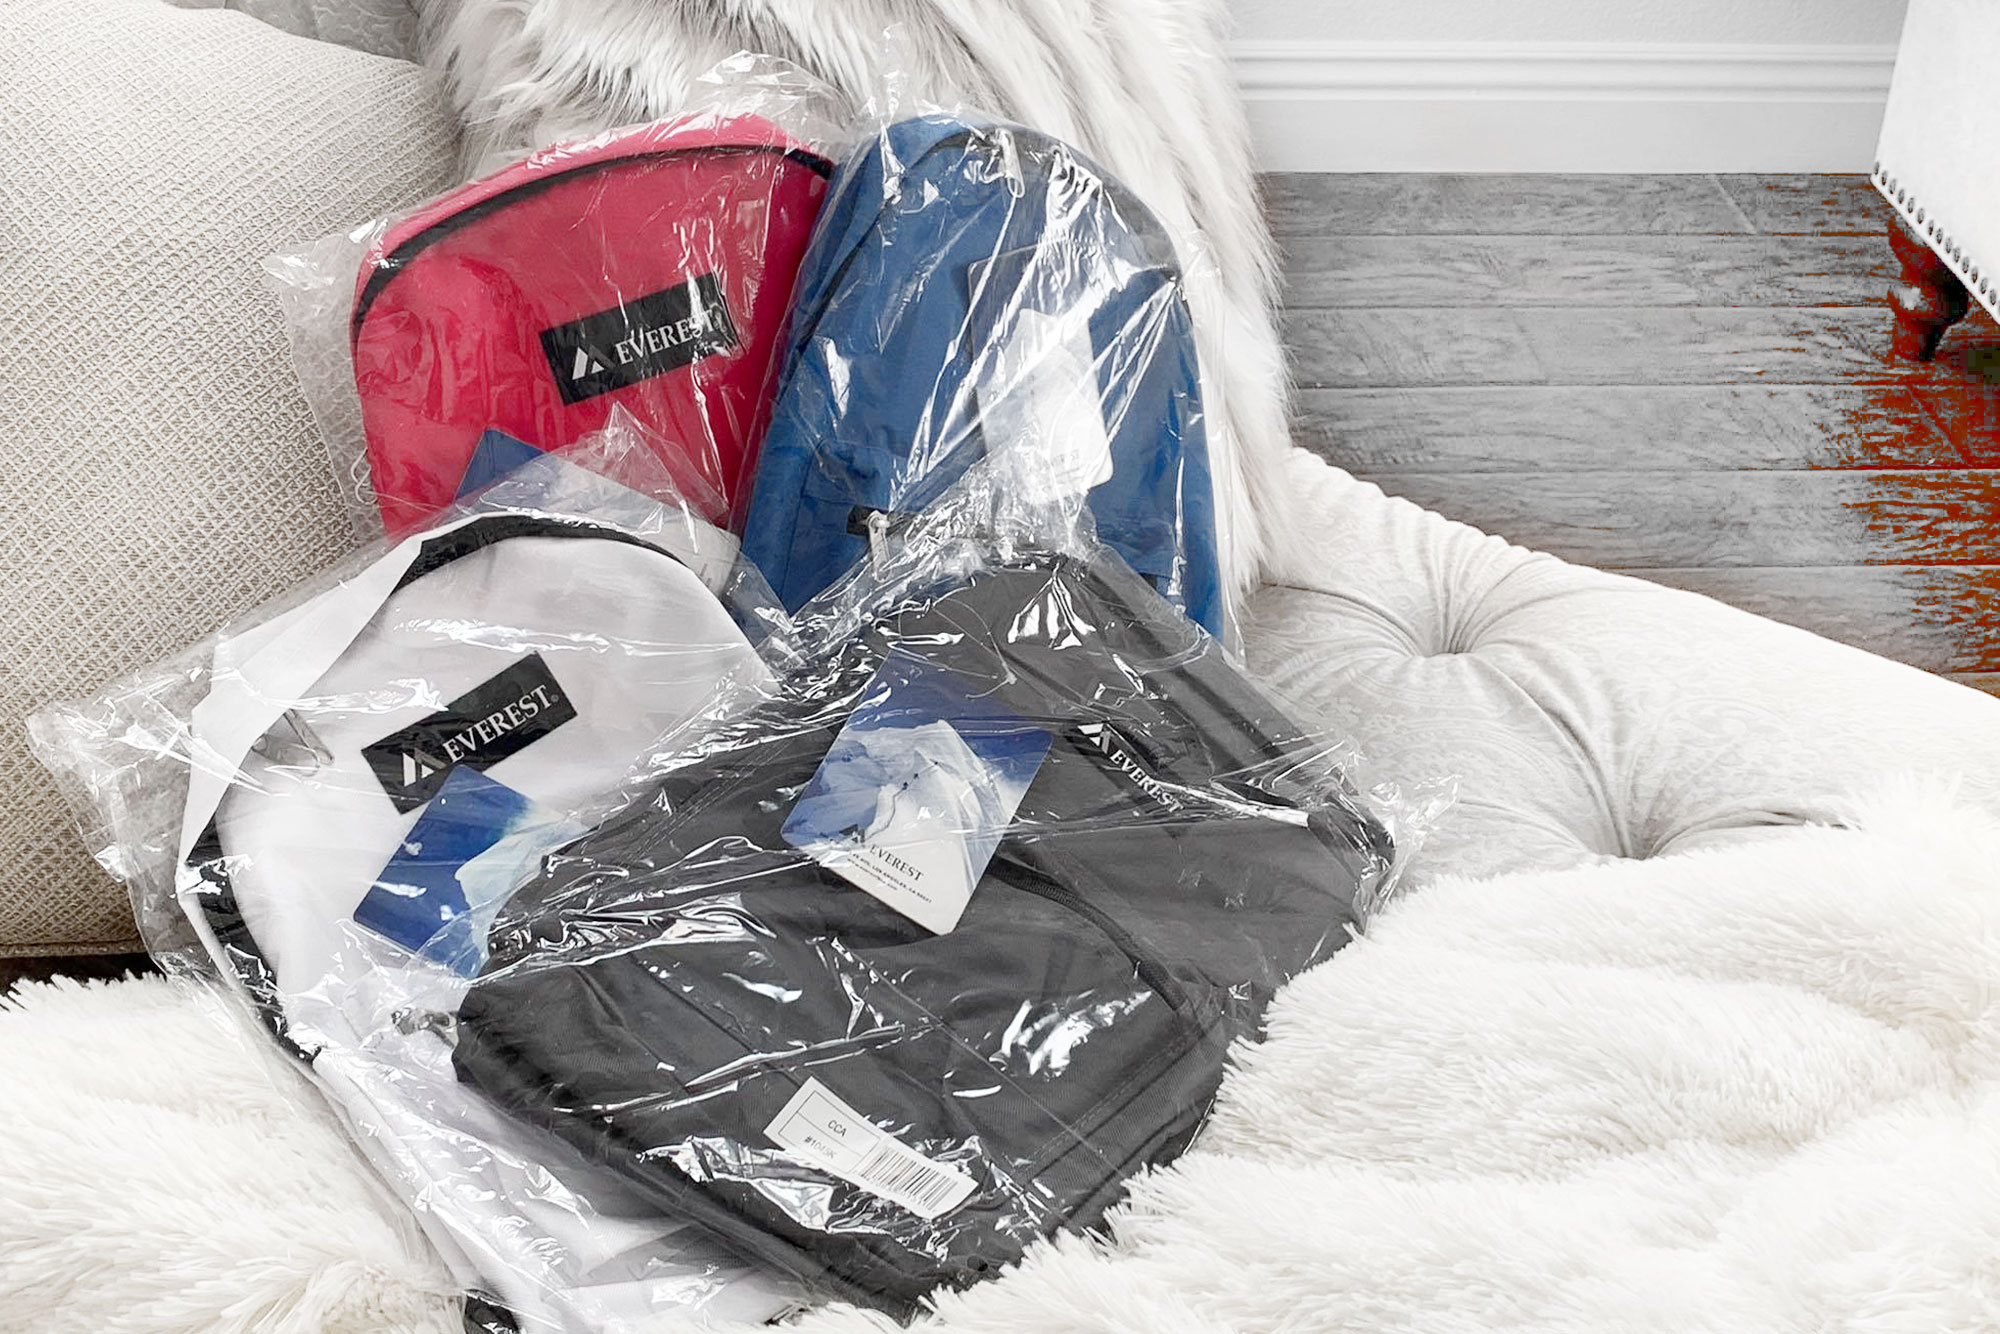
- Blank backpack (I have used the Everest brand for this project but any backpack with fabric exterior will do just fine. Just make sure it is not made of plastic.)
- Cricut Explore or Maker
- EasyPress 2 (9×9)
- EasyPress mat
- Infusible Ink
- Iron-on Vinyl
- Iron-On Protective Sheet (you can also use Teflon sheet or Non Stick Heat Transfer Paper)
- Towels for stuffing
- Standard Grip Mat
- Weeding Tools
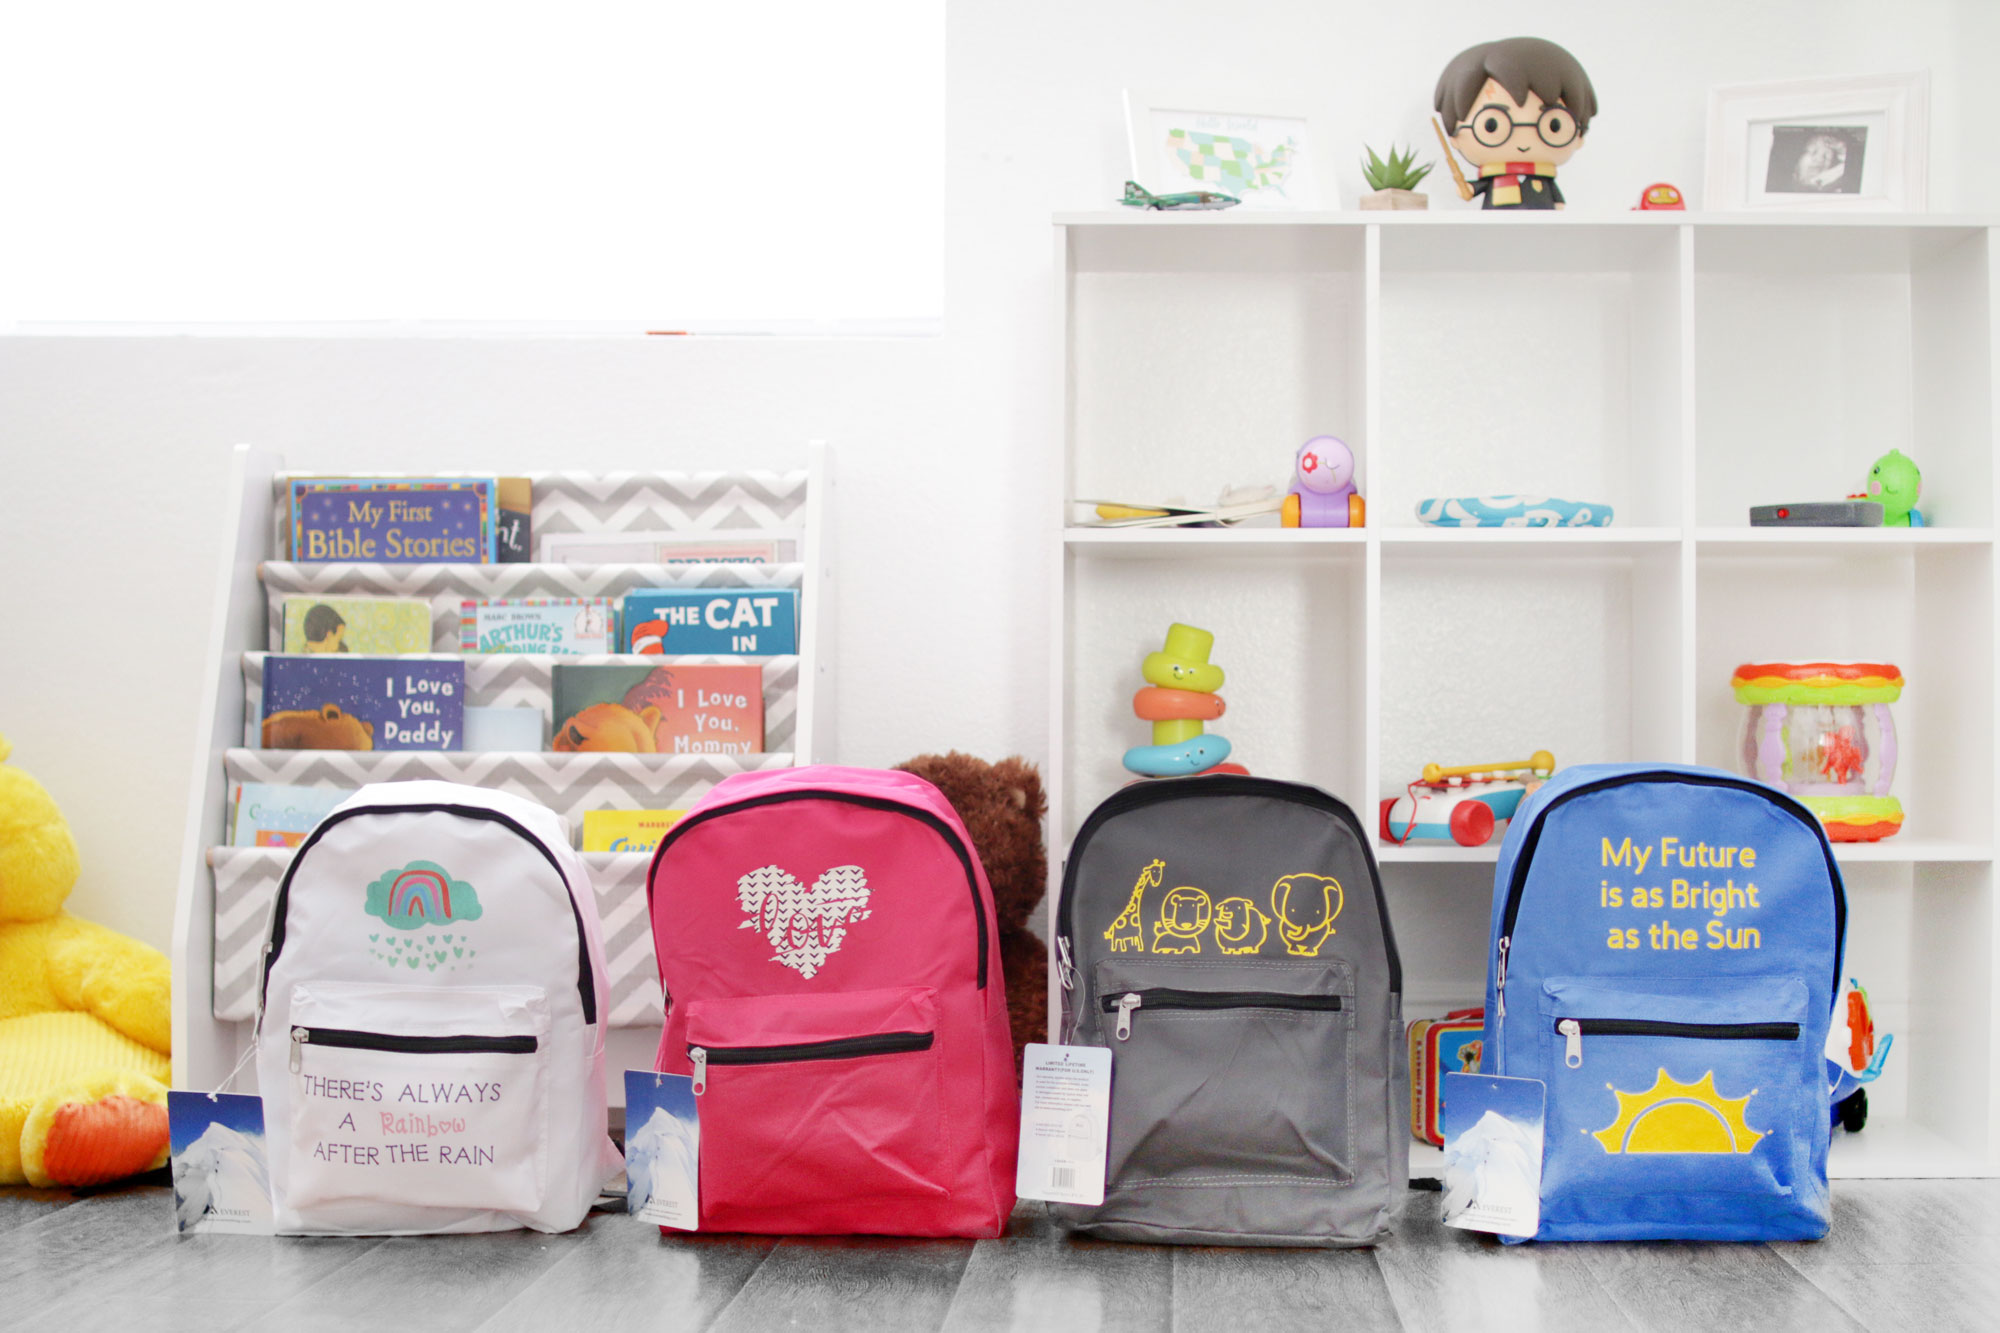
When you’re ready, make sure to carefully consider the colors of the backpack and the supplies that you will be using. It is best if you use a contrasting shade to make your design stand out. Learn from my mistake, and don’t use red over hot pink. This was an obvious no-brainer, but I have figured I’d give it a try anyway. I had 4 colors to start with … White, Gray, Hot Pink, and Blue.
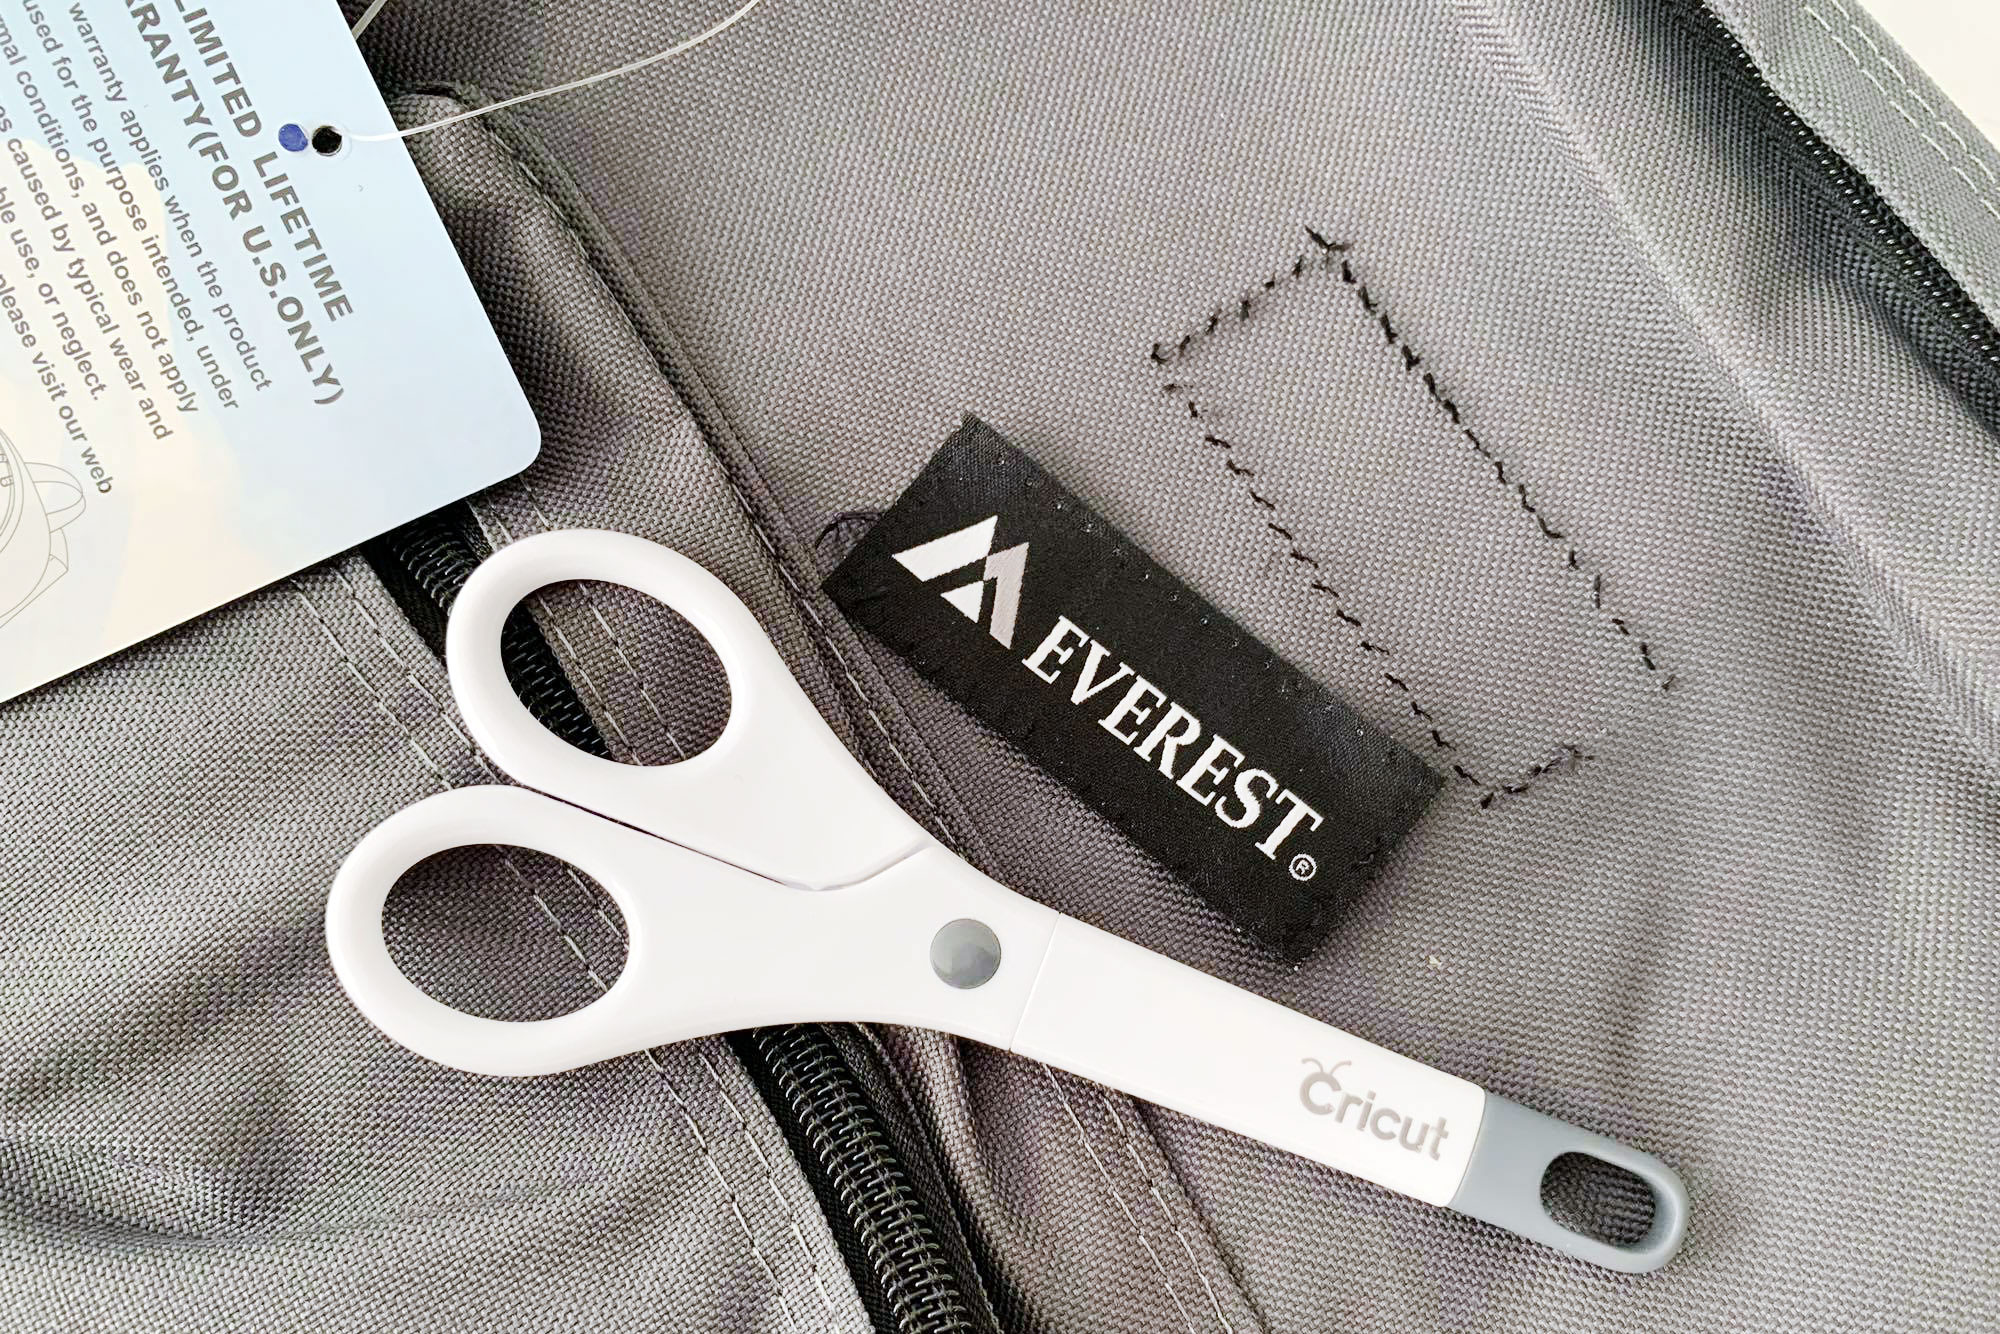
From there, make sure to remove any labels that would get in the way of your design. You can use a seam ripper or a small scissor. Then carefully weed out the loose threads. If you have a lint roller, it is also a good idea to use over on the area where you will be applying a design.

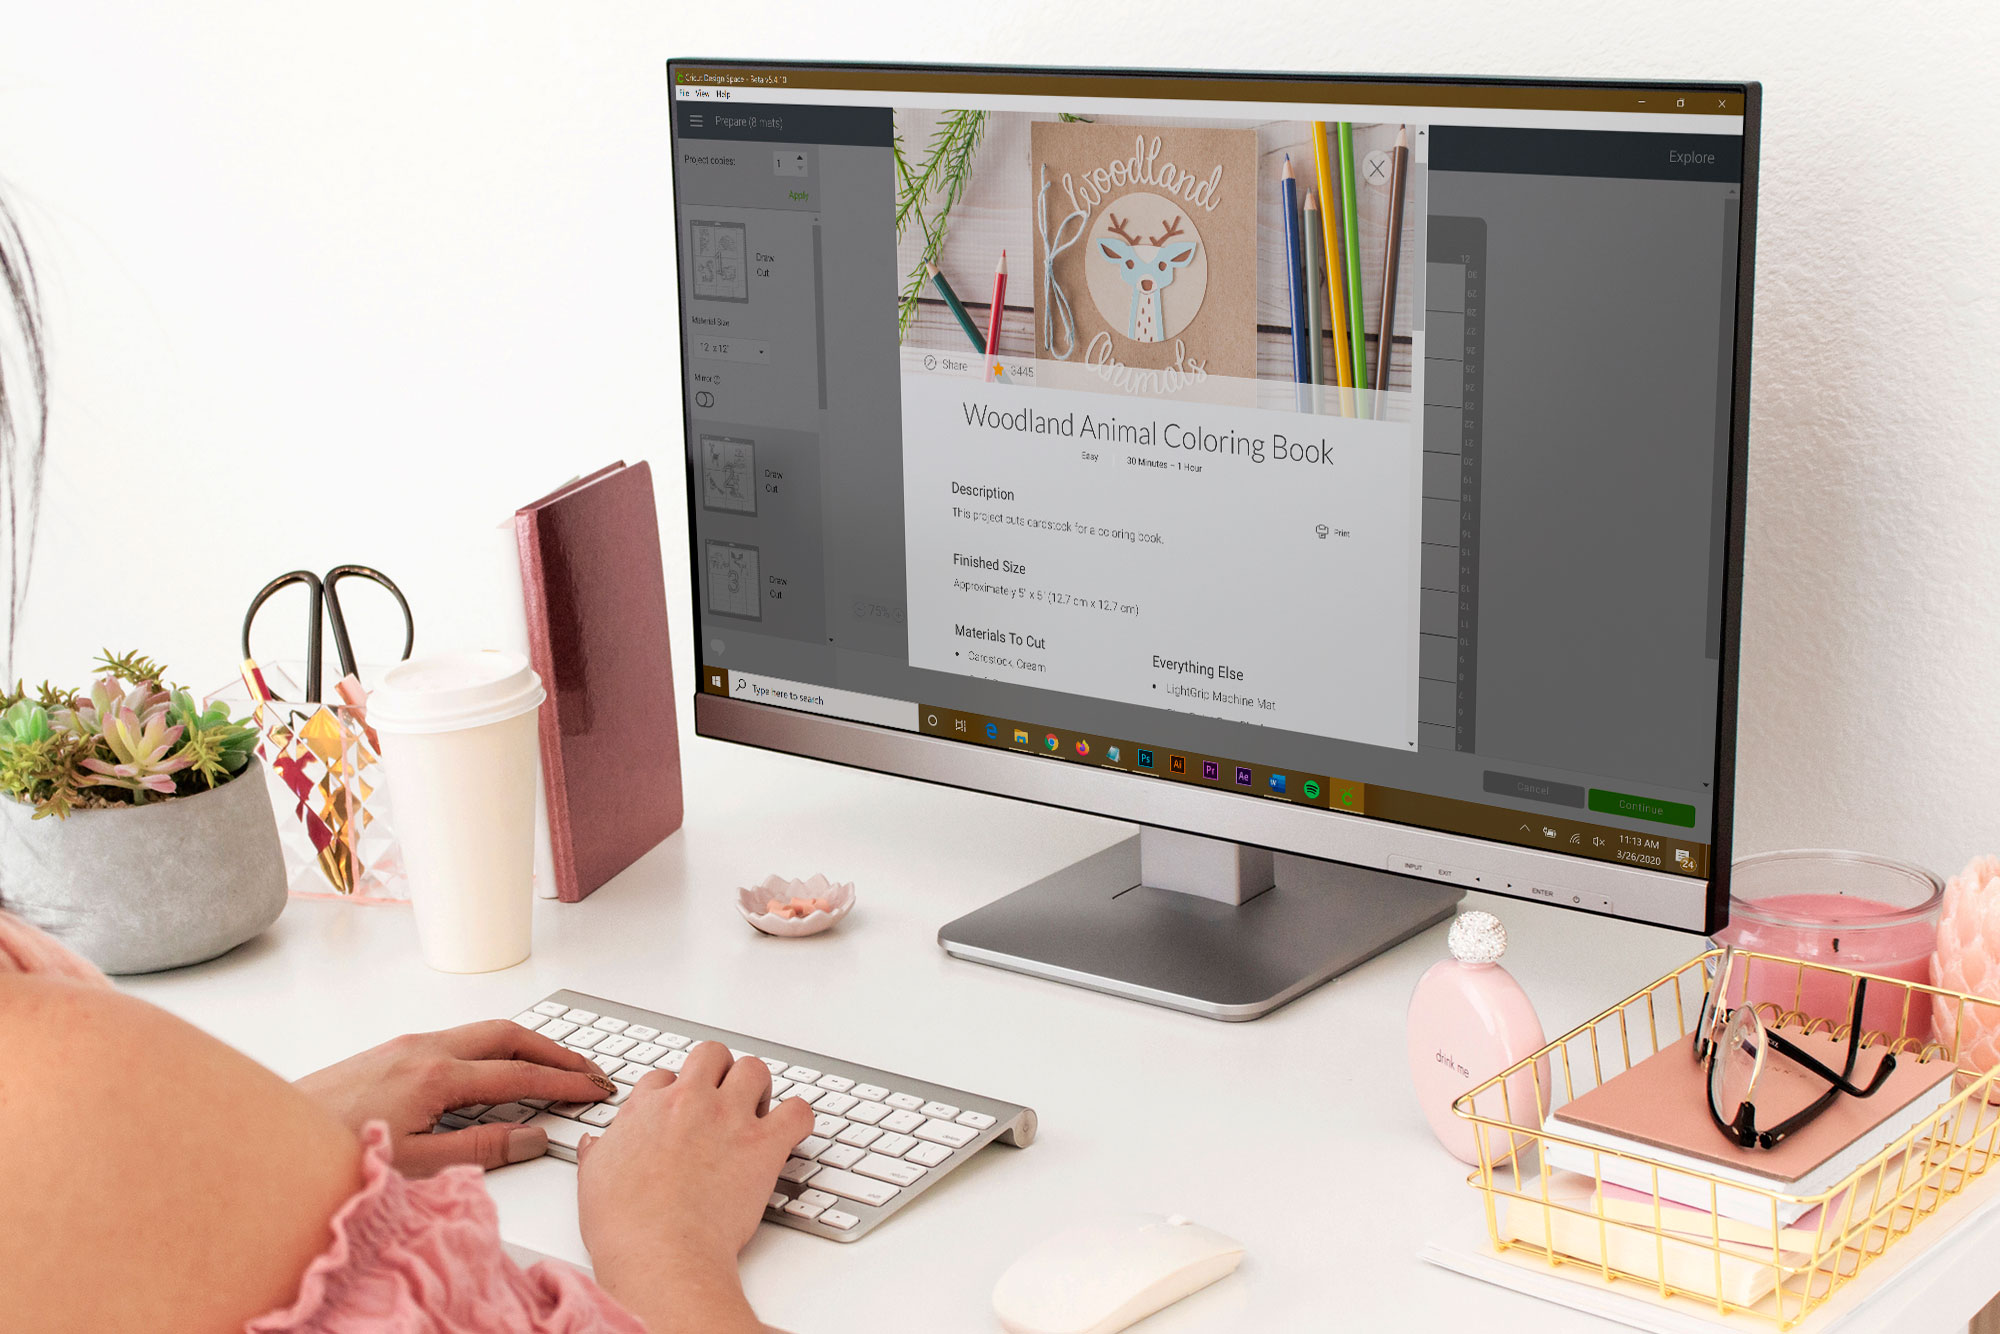
Once the label is off, measure the area in your backpack where you want to place the design. Open Design Space and start planning out your creative ideas. I played around with all the choices available. There’s a lot of graphics, font styles, and even pre-made designs that you can customize to make it your own.
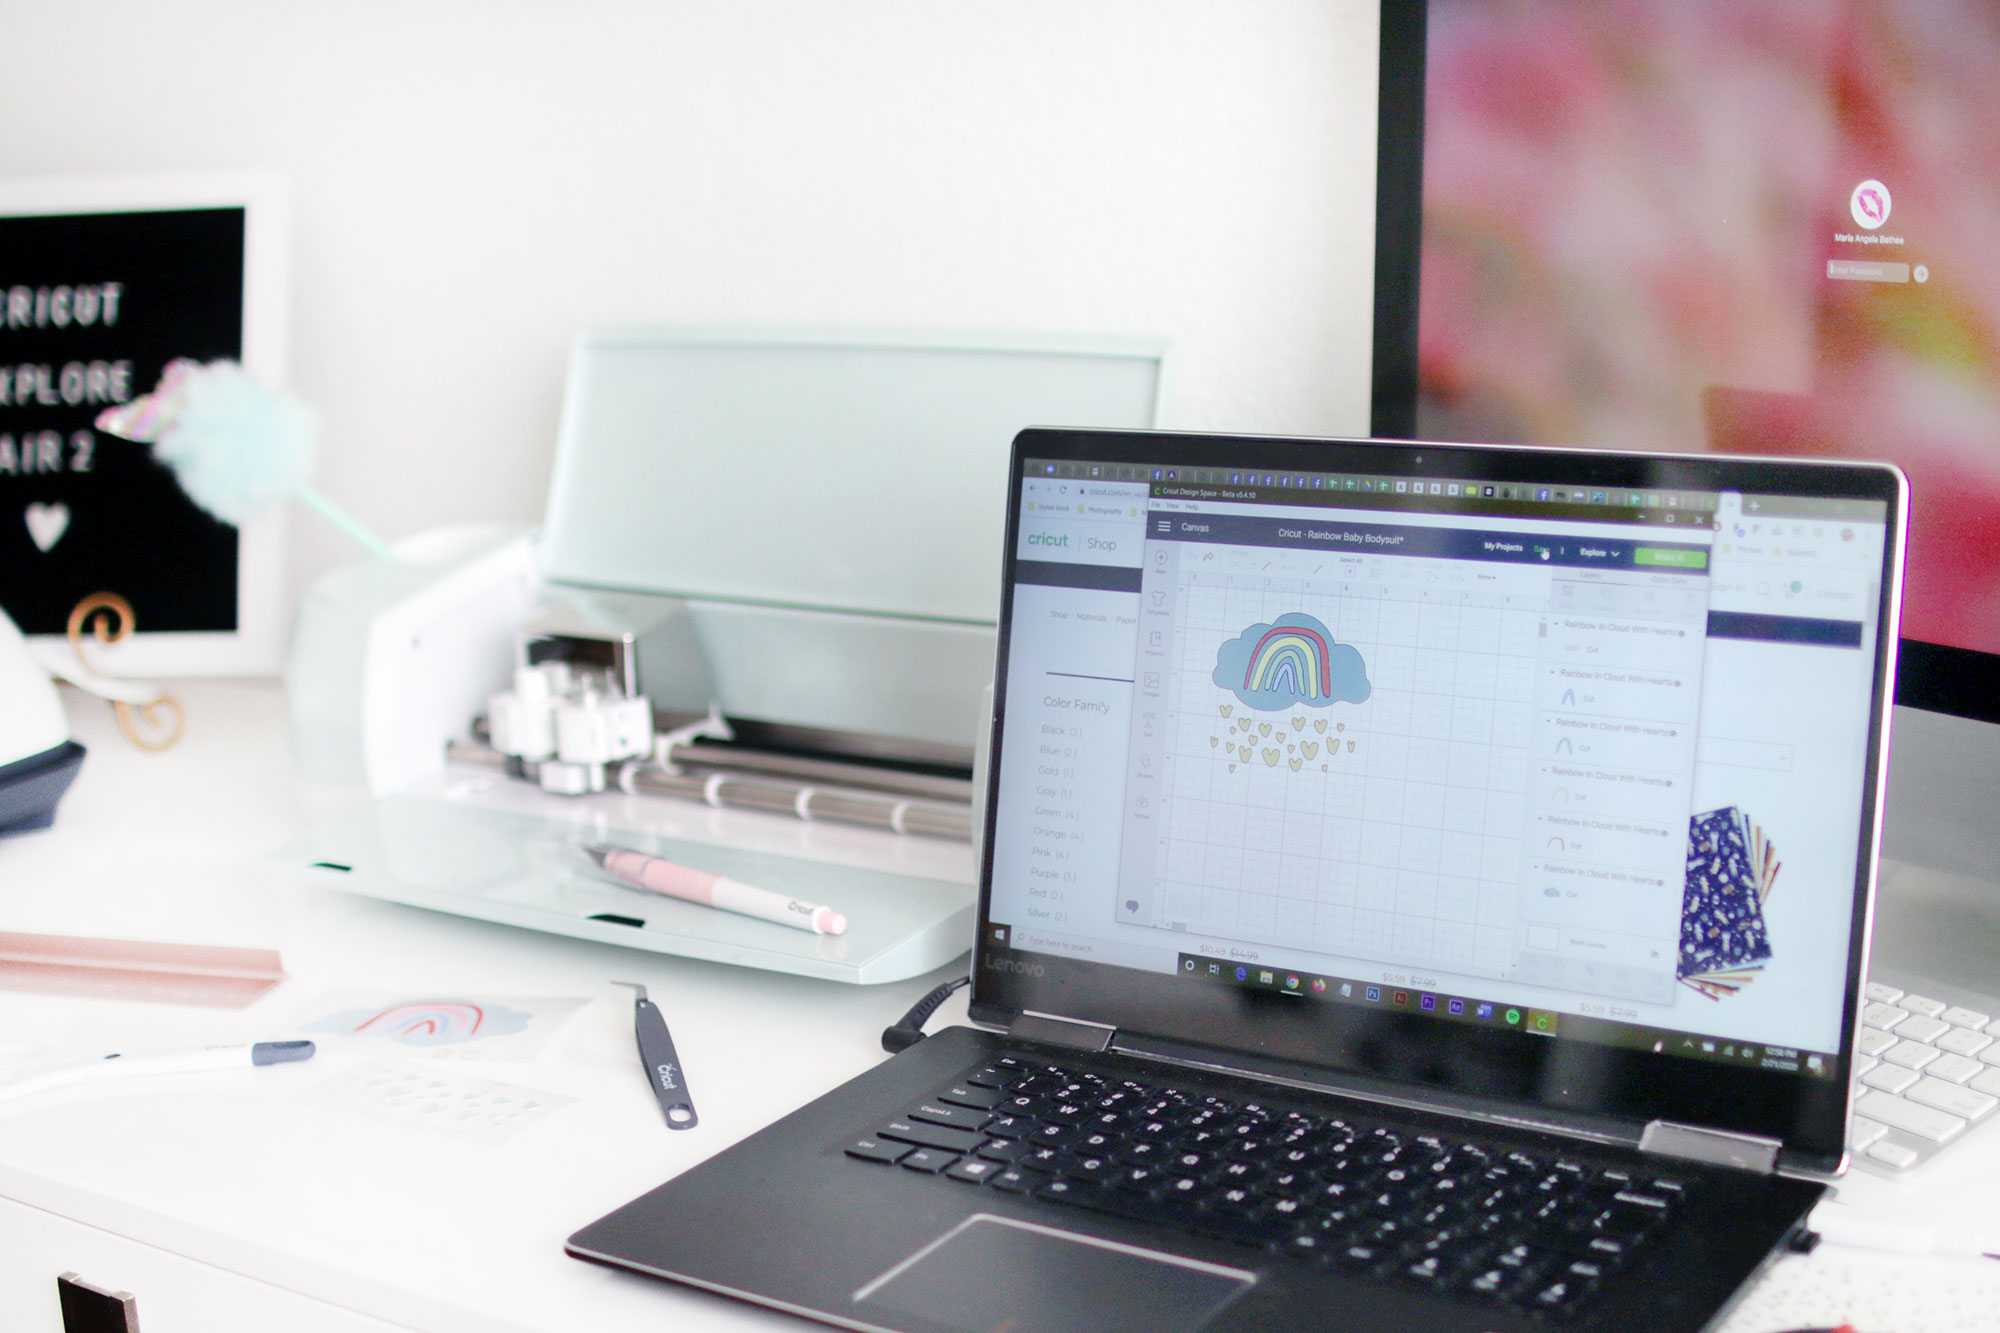
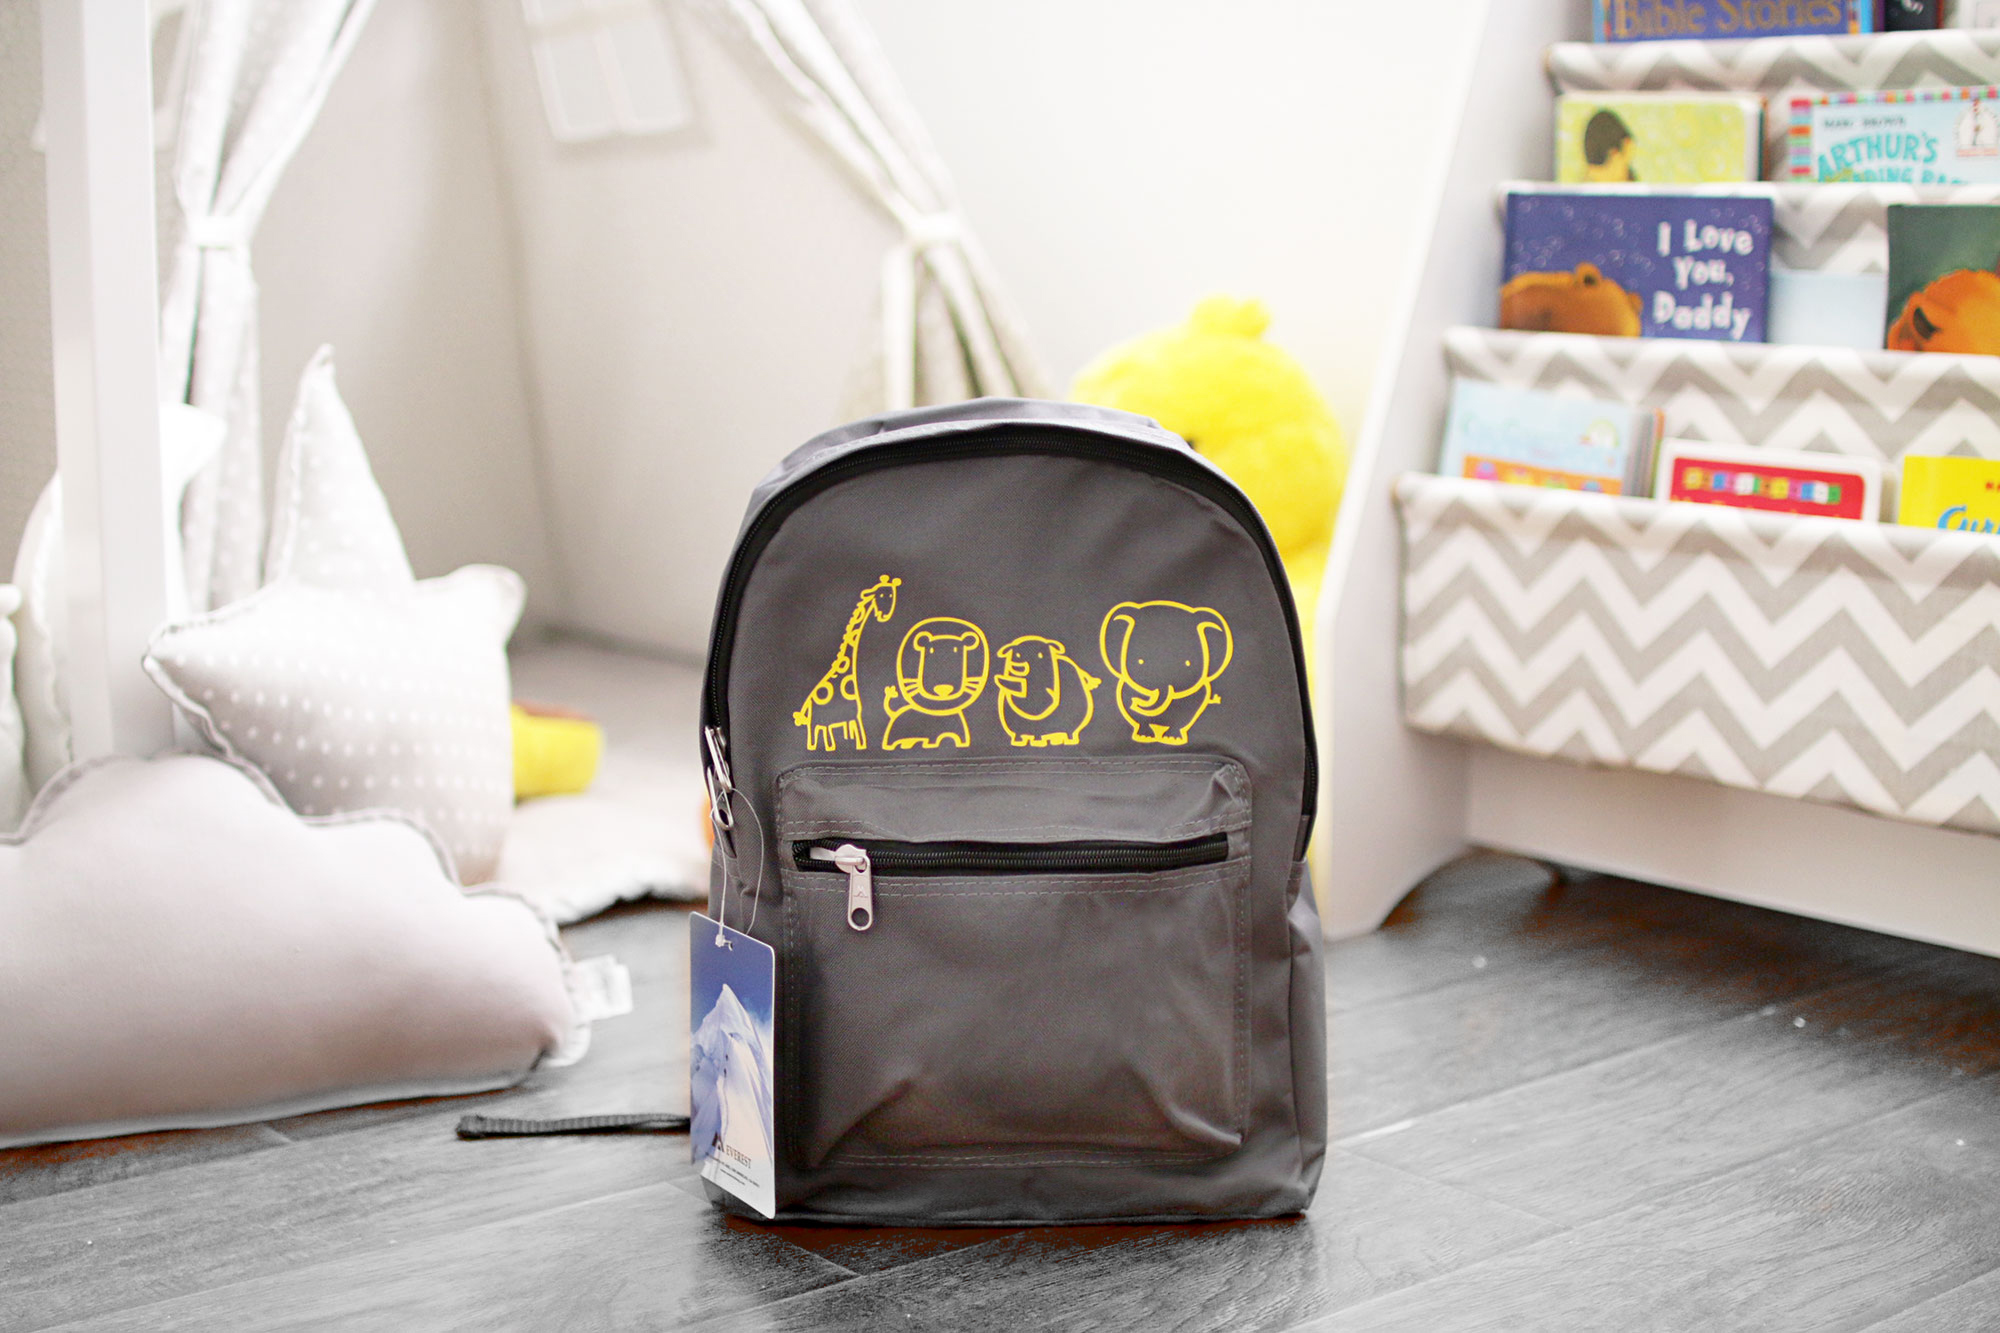
For my first attempt, I have decided to try out Infusible Ink to create beautiful graphics that were already premade. It was meant for a baby onesie, but it’s just a base material. It can be made for anything. To re-create this specific design, open up this Design Space Project. Edit the project size to perfectly fit on your backpack. Add an additional design to decorate if you wish.

The process for using the Infusible Ink and the Iron-On material is just about the same. Depending on your base material (what the bag is made of), you set the Easy Press setting compatible with it. Since my bag is made of Polyester mix, I used 315°F and pressed for 30 seconds. Warm Peel for Infusible Ink and Cold Peel for the Iron-On Vinyl. Find out more regarding the Heat Guide Setting here.
Customizing with Infusible Ink

Step 1. Prepare the bag.
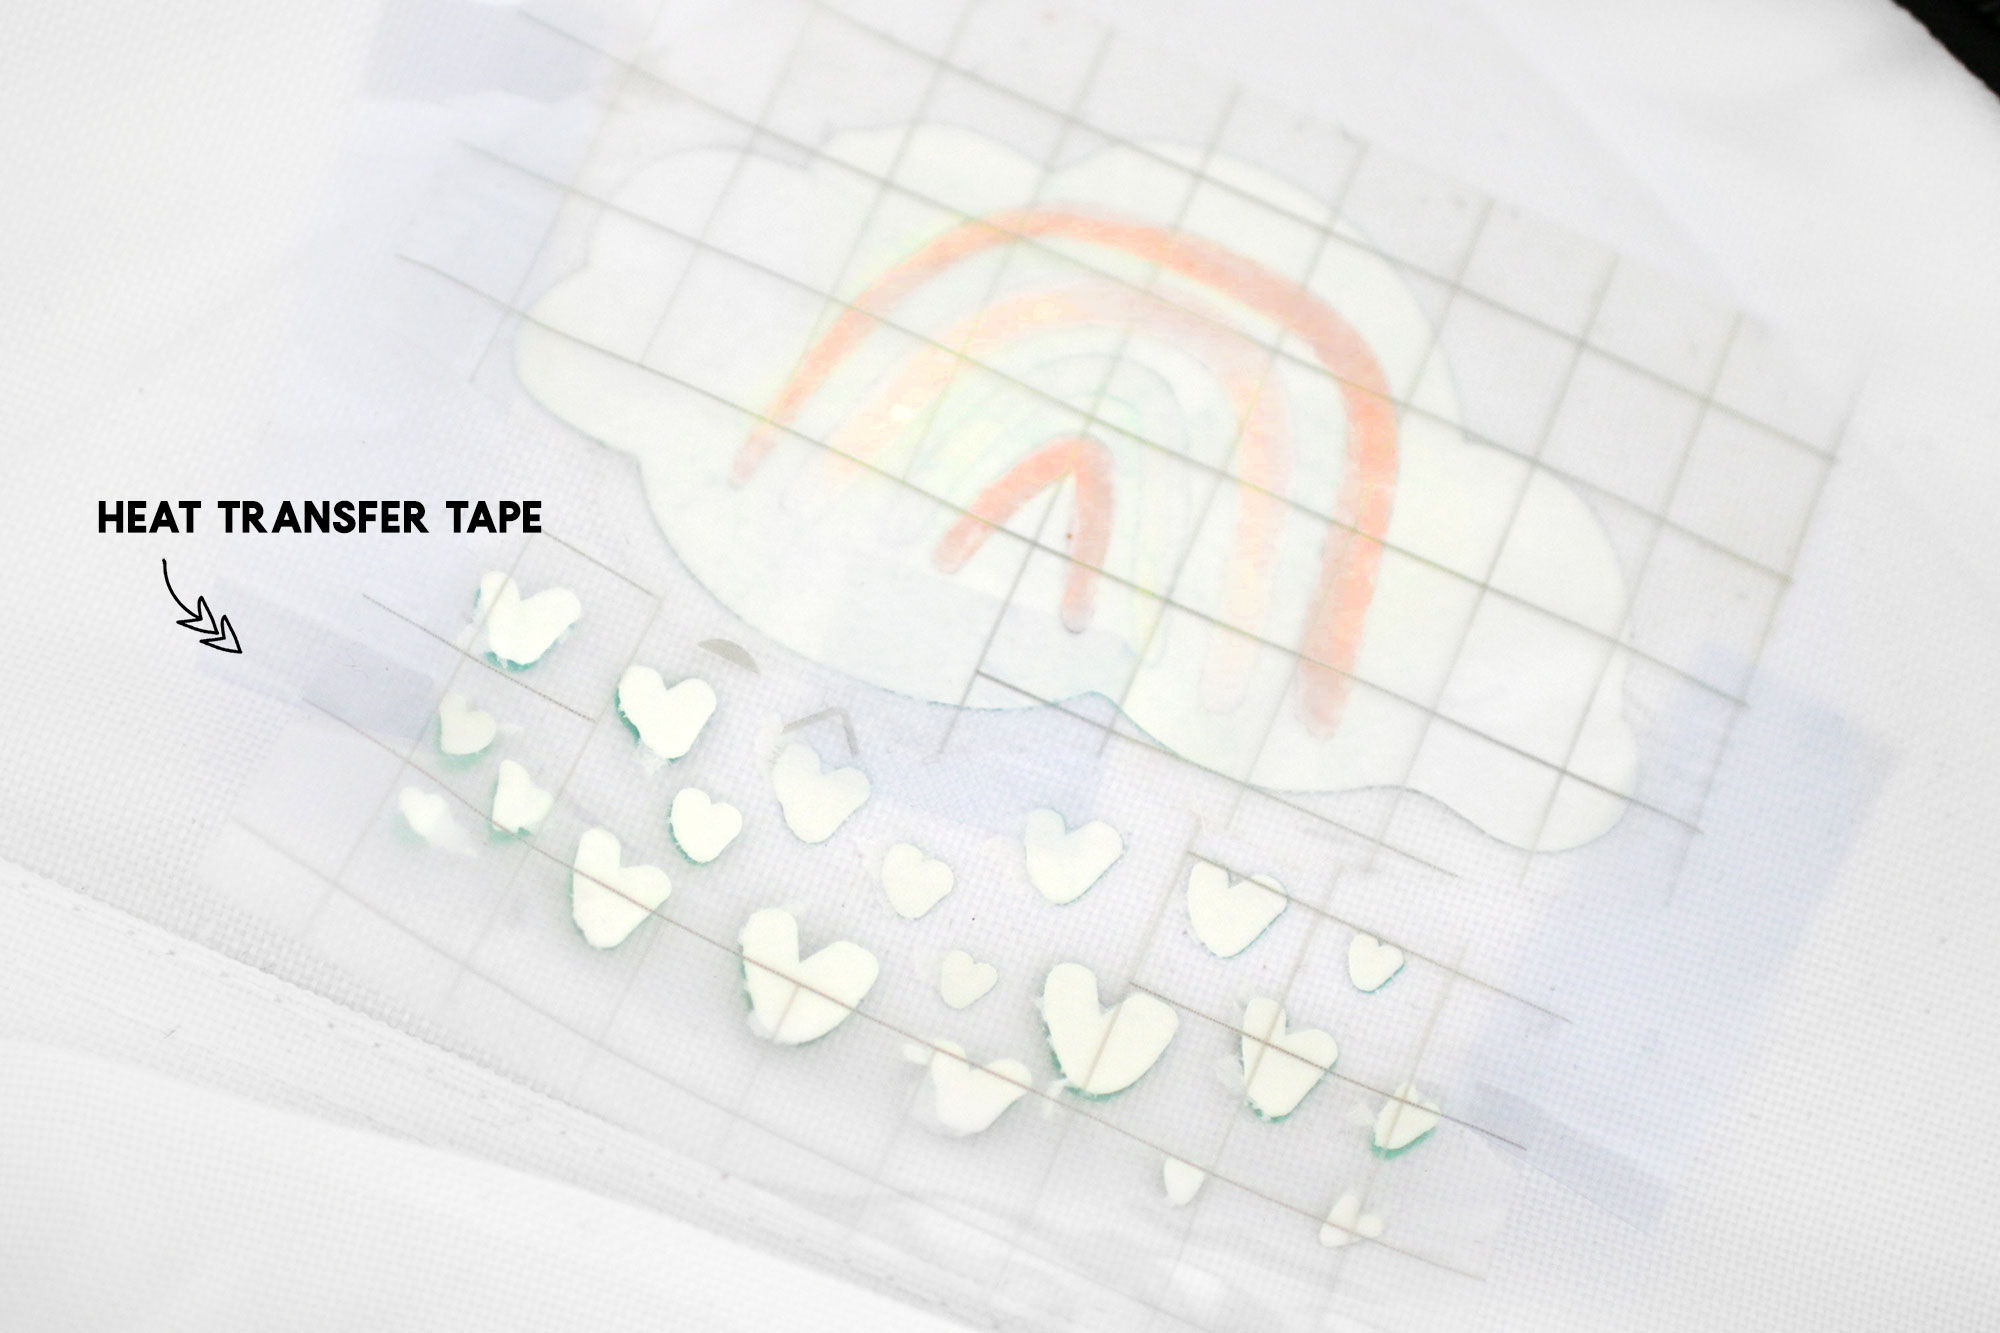
Step 2. Heat the area first to remove moisture on the surface before applying your design. Use a heat transfer tape to hold your design in place.

Step 3. Carefully use the heat press over the area and hold it in place firmly. Do NOT hover or move around.

Step 4. Carefully peel the backside while it is still warm.

Step 5. Use a weeding tool tweezer to lift anything that was leftover.

DONE! Your design is now finished and ready to be enjoyed.
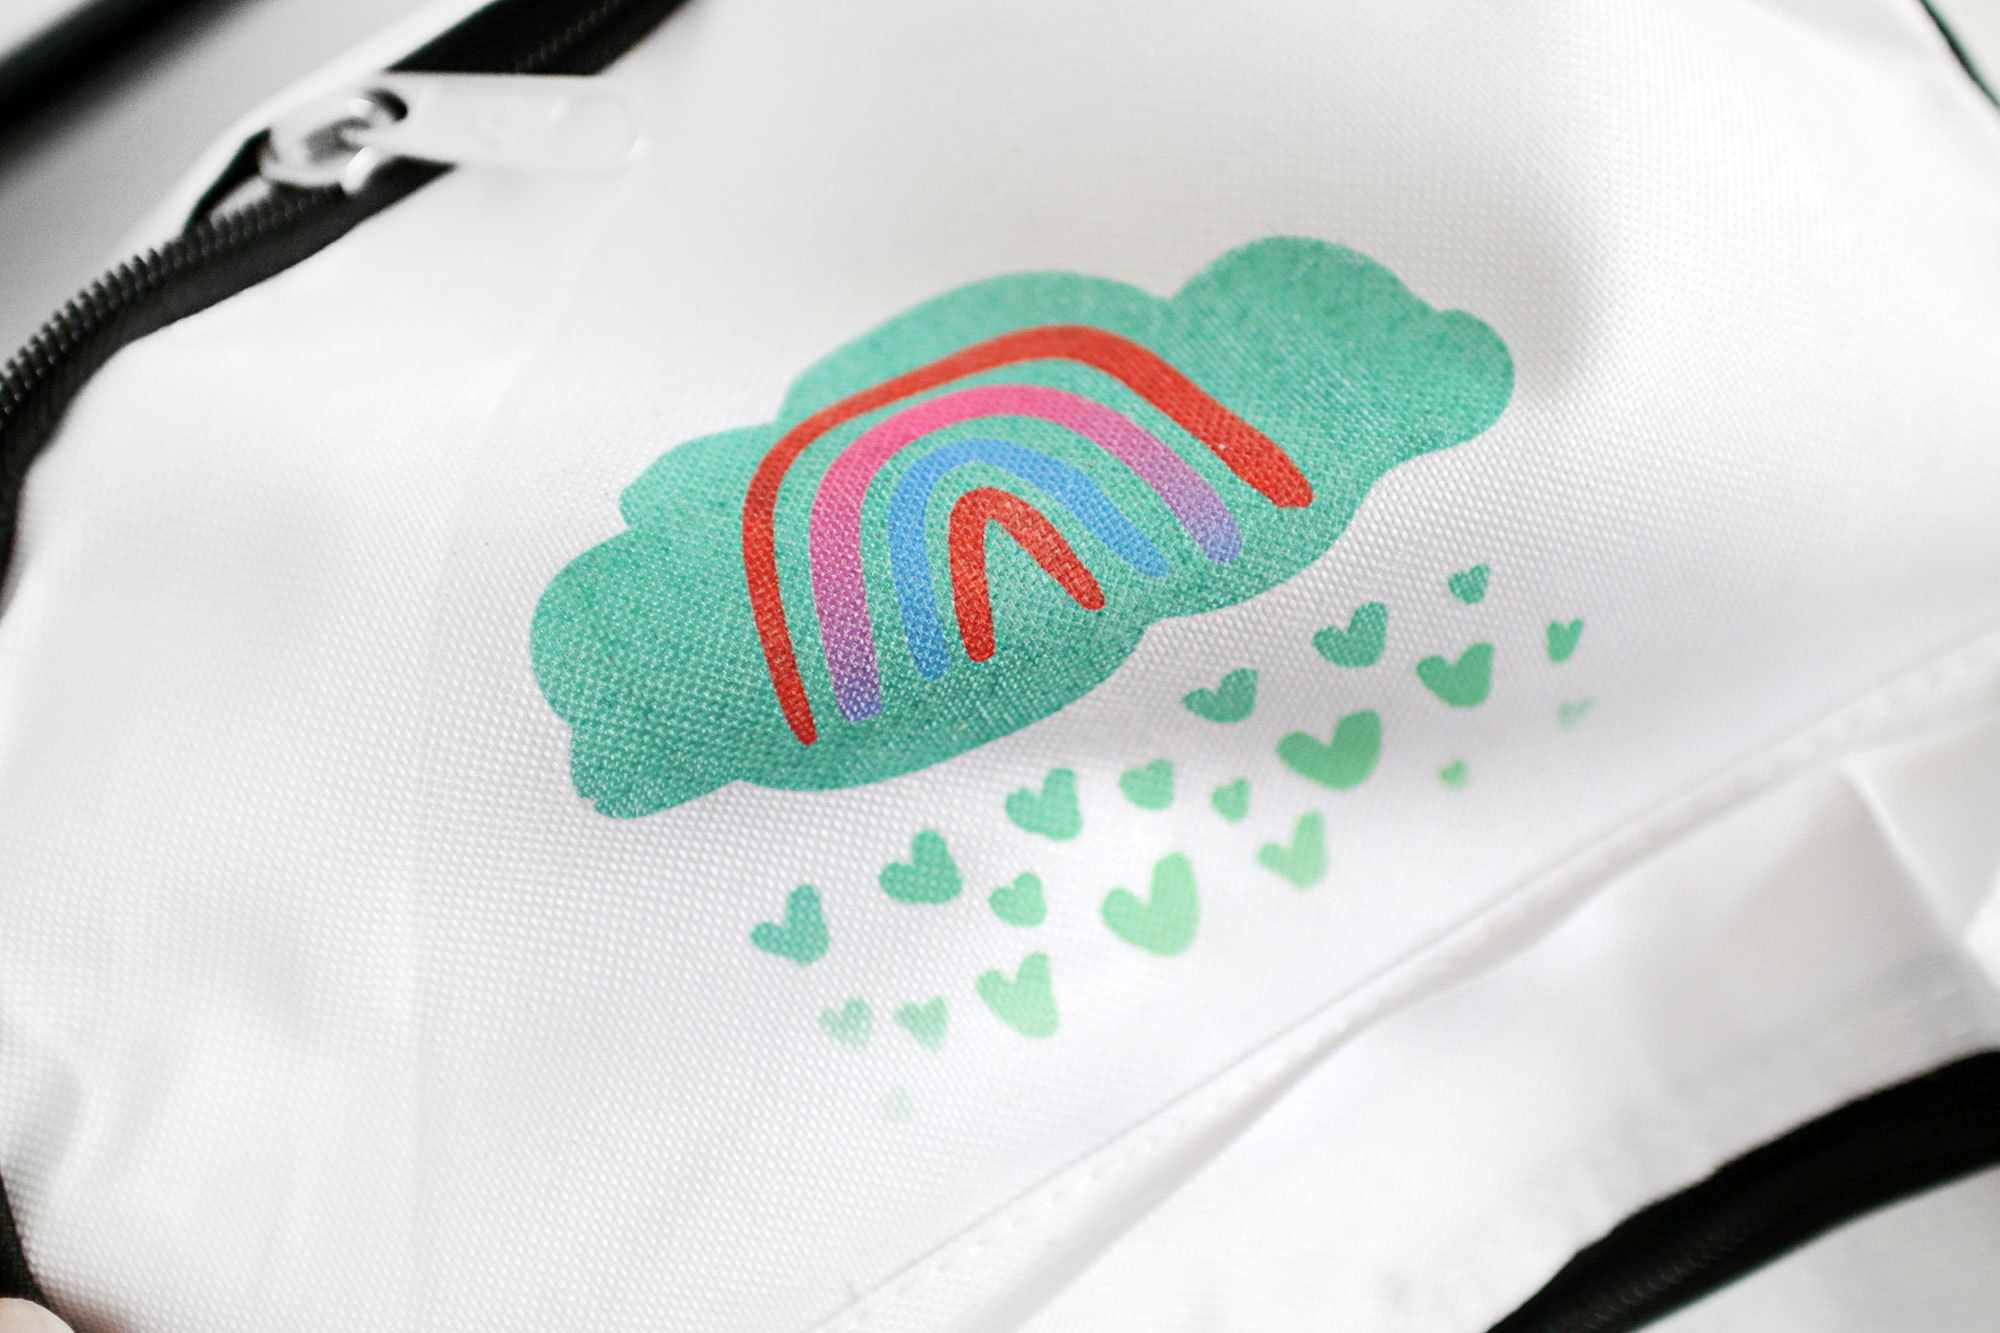
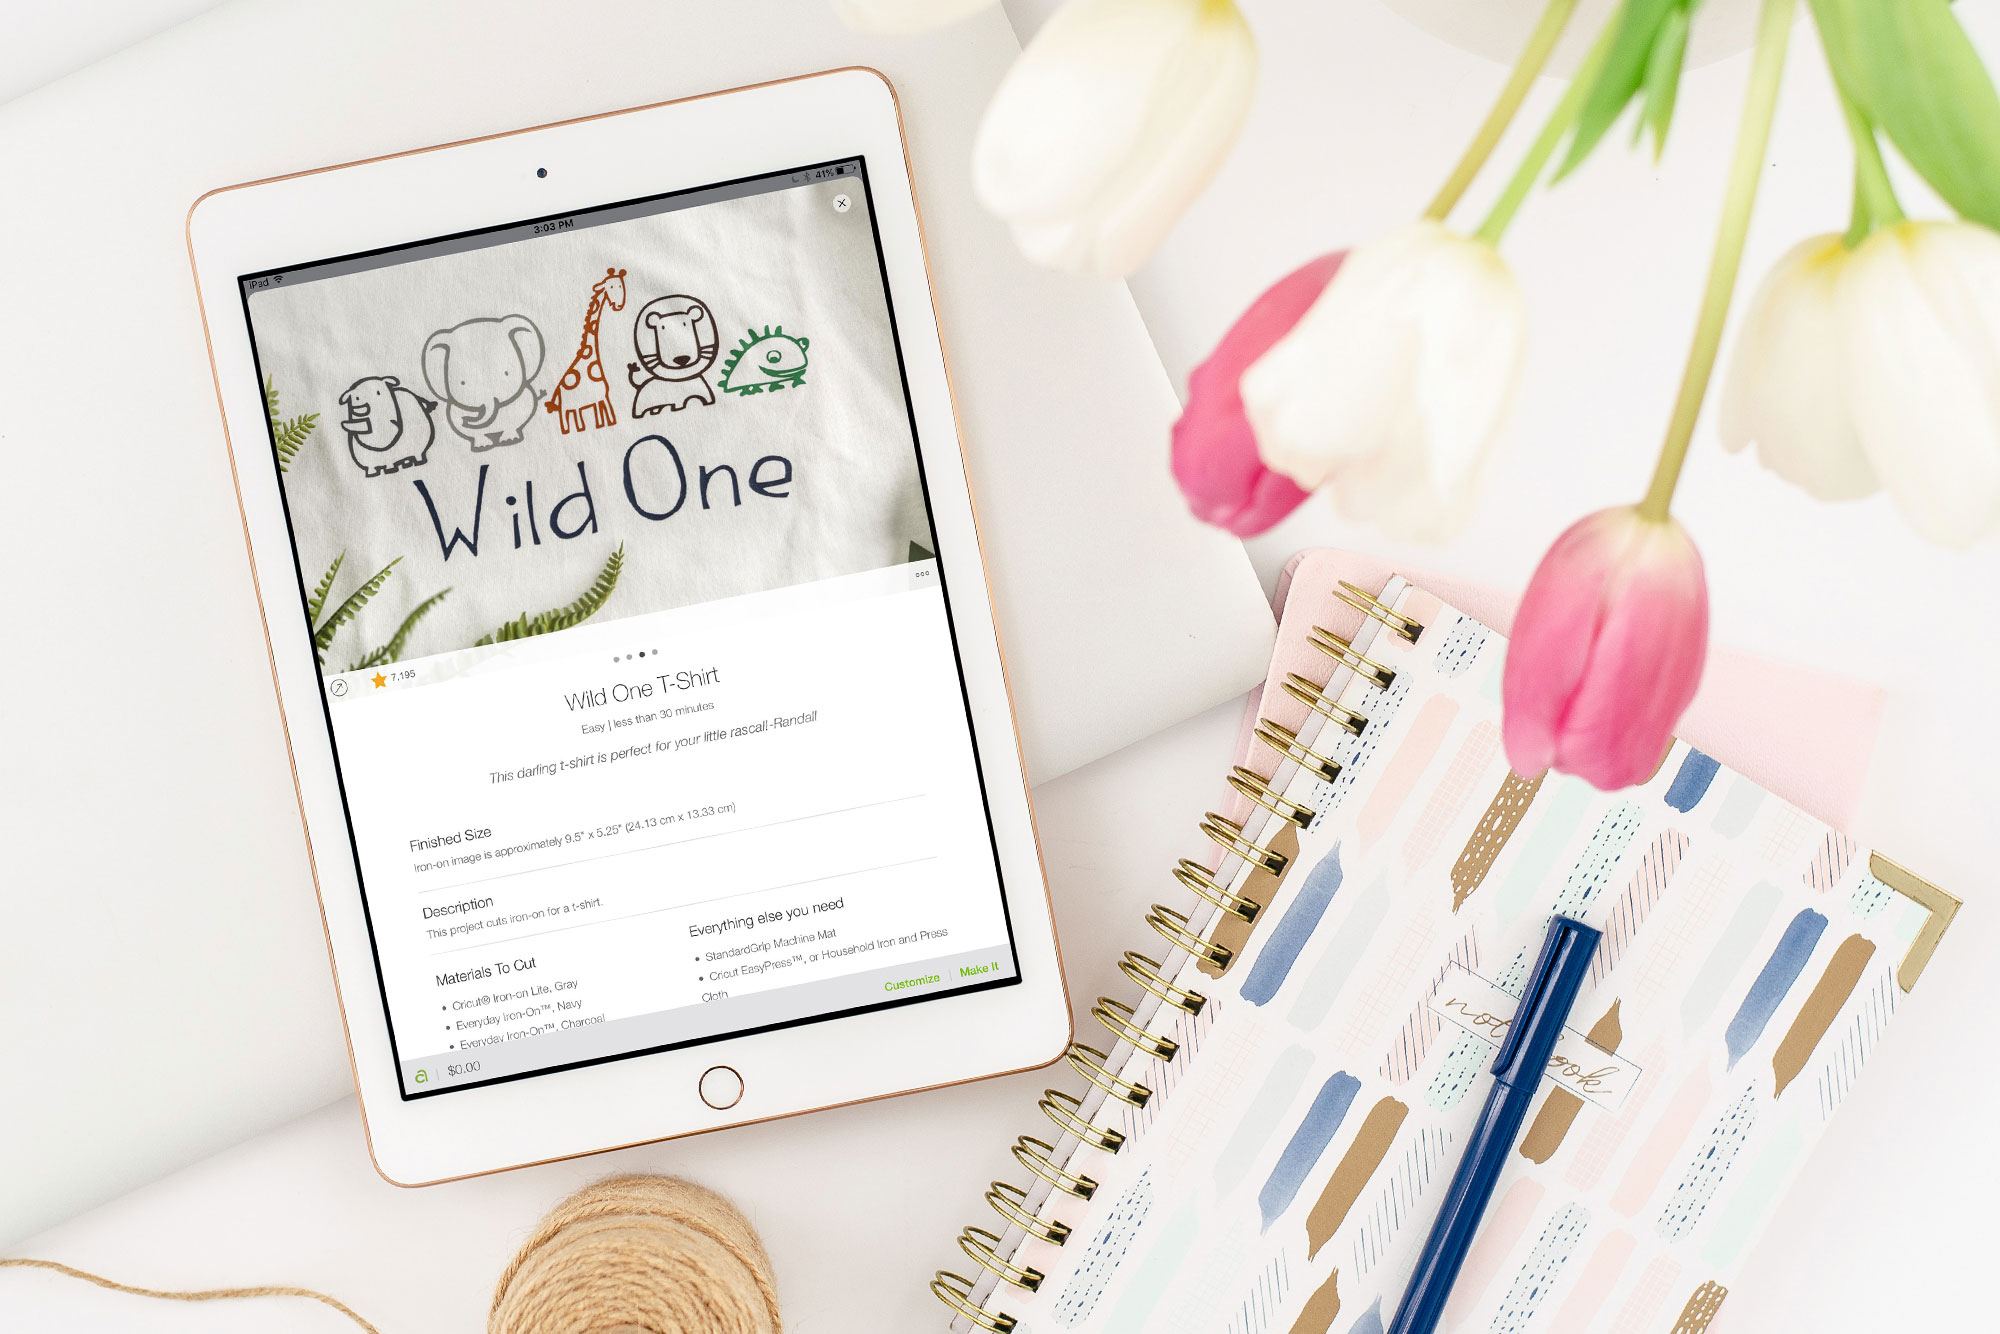
Doesn’t it look absolutely fabulous? I’m not one to brag but for a beginner and a first-timer, this sure seems like the design came with the bag! As I have mentioned, it is super straight-forward and not technical at all. Some friends have asked me if there was a huge learning curve, and to be honest? I honestly don’t think so. Just follow the steps carefully and in only a few minutes (while I was enjoying a cup of coffee), I got one fo the bags done. Want more inspiration? I browsed Design Space and found this “Wild One” design that I can recreate for one of the bags. This time, it is meant for a shirt and I have used Iron-On Vinyl for it instead of the Infusible Ink.
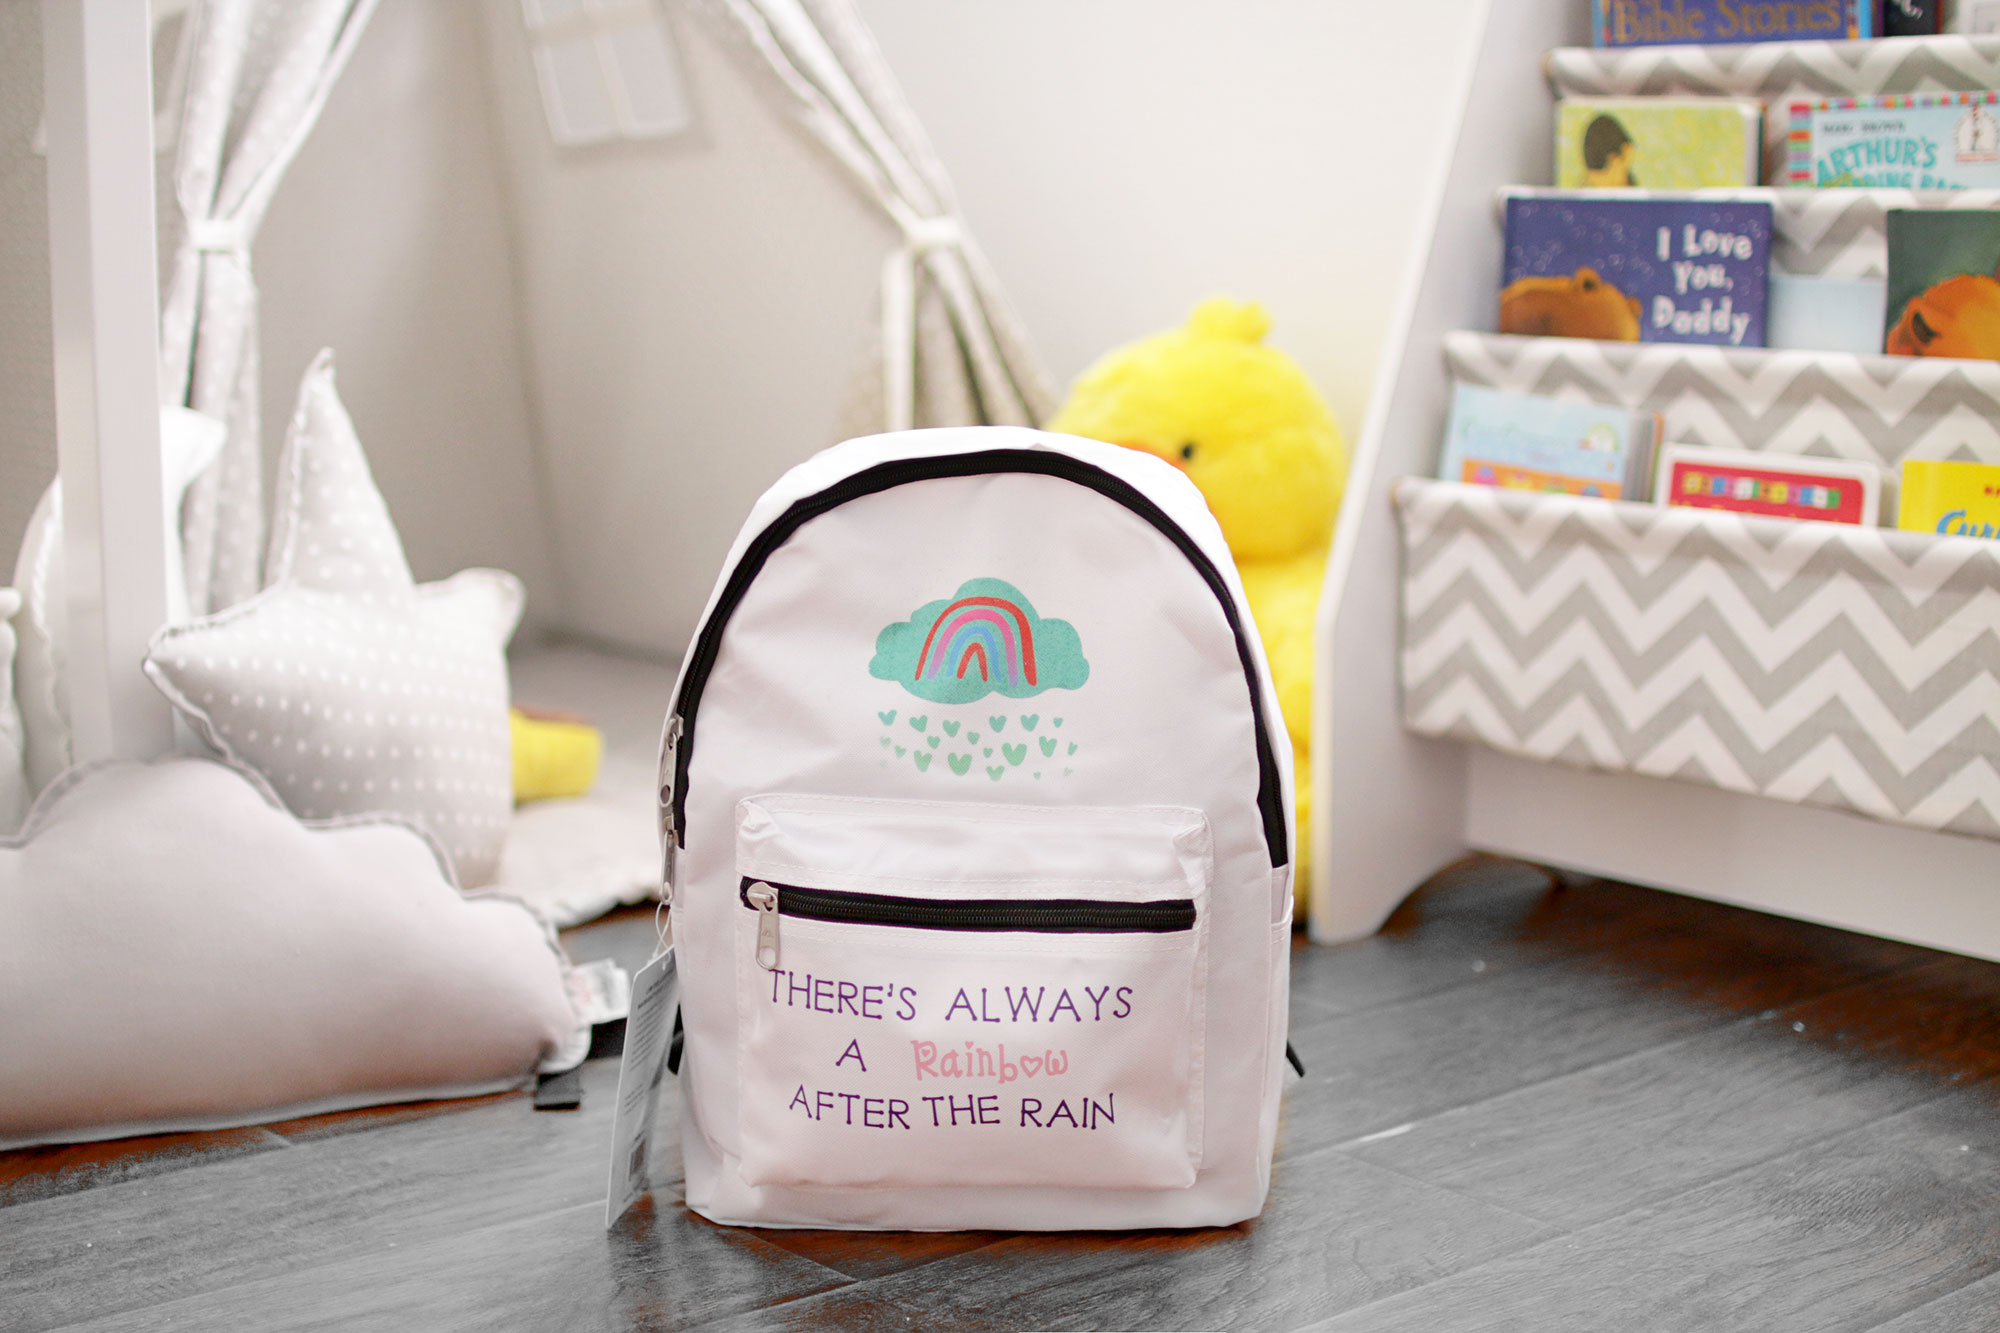
Here’s the final look for my Backpacks of Love project. I am absolutely in love with the results. Extra plus that it was labored with my passion. The rainbow print on the white backpack and the word love on the pink backpack was made using Infusible Ink. All the rest of the designs were made using StrongBond Iron-On Vinyl.
Personalized Backpacks!


… and that wraps up this DIY Personalized Backpack with Cricut! If you have any questions, feel free to share them using the comments box or reach out to me on social media. I wish you all the best and happy crafting!
PS: If you do find yourselves creating backpacks using my guide, I would love to see what you’ve made! Please share them with me or tag me on social media so I can see and share them too (if you allow it) so other crafters can find inspiration from your creations also. xo


michelle twin mum
March 28, 2020These are amazing, so much better than shop-bought designs, I think the rainbow one is my favourite. Mich x
Rebecca Smith
March 30, 2020These are so cool! I’d definitely be making one for Olivia for nursery if I had the tools and the materials!
Kara Guppy
March 30, 2020I have been saying for ages that I want a cricut machine but never thought I would have time to use it. I think now is the best time to invest in one
Anosa
March 30, 2020These are so good! My son would absolutely love designing his own backpack and helping to make it. They would also make great gift ideas
Sarah | Boo Roo and Tigger Too
March 30, 2020These look absolutely amazing, perfect for children starting school, for clubs and days out too.
Laura | Tales of a Natural Spoonie
March 30, 2020This looks amazing, you would never know that they weren’t an original part of the bag. I love the rainbow one x
hannah
March 31, 2020I really like the idea of personalizing your backpack. There are some really good designs
Jennifer Gladwin
April 1, 2020These look amazing, and look like the bag came like that! I love being able to personalise things.
Brianne
April 7, 2020You always do the most beautiful projects with your Cricut. I would love to give this a try. I love the way all of these turned out. They’re super adorable.
GiGi Eats
April 7, 2020The giraffe/animal one – I AM HERE FOR IT!!! Yes!!!
Surekha
April 7, 2020Those backpacks look so adorable! You did such an amazing job. They look they could be found in any kids’ store anywhere. They’re so professional.
Iamgeetha blog
April 7, 2020This is really cool. My son loves it. On summer this is the first task in his back to school listings.
Tara Pittman
April 7, 2020What a cute craft project. I dont have a plain backpack but I might try this on a white shirt
the joyous living
April 7, 2020nicely done, ANGELA! i bet this would be so cool for kids to enjoy when they’re stuck at home – make something to look forward to in the future. going back to school (that is)
Monica
April 7, 2020This is the coolest thing I have seen yet, done with a Cricut!
Daniel Sierra
April 7, 2020Amazing how simple and beautiful those designs look. Customizing your backpack sounds like the perfect plan on lockdown, I bet my kids will love it.
Kita Bryant
April 8, 2020That would be a lot of fun to make with the kids. They like doing things like this,.
Catalina
April 8, 2020OMG! This is awesome! My niece will be happy to personalized her backpack!
Lisa Joy Thompson
April 8, 2020I was so scared to try out infusible ink for the first time, but was so thrilled with how easy it was to use. I’m totally going to try my hand at some backpacks next!
Samantha Donnelly
April 8, 2020These look great, there is so much you can do with one of these machines and the items you can cusomise, we are loving experimenting with ours x
littlemisadvencha
April 8, 2020I also once had a personalized stroller bag when I was younger and I never forgot about it because my name is embedded on it with my favorite colors. These backpacks are really cute. For sure, the kids who will have them will never forget them, same as me. 🙂
Toni
April 8, 2020That is really beautiful! Such a great idea!
Nilakshi
April 8, 2020OMG! You are so creative. And these bags are totally personalized!!!! Anyone who wants to make a style statement should surely go for them.
Ashlee
April 8, 2020Wow – this looks like such a great activity to do with the kids. Or at least let them design and Mama does that hard bit – haha. Especially for when they are eventually getting ready to go back to school.
Ashlee | ashleemoyo.com
Emily
April 8, 2020That is another reason that I want to get a cricut. I am just debating if I will really have time to use it.
Yeah Lifestyle
April 8, 2020How fantastic! My nieces love customising all their personal items and they would love to own a personalised backpack with all their ideas incorporated into it
Melanie williams
April 8, 2020This is such a fab idea. A backpack that can be personalised is a great way to make the bag stand out too xx
Stephen
April 8, 2020Given children’s ability to lose everything, a personalised backpack is such a great idea for helping track it down again
Emily
April 8, 2020I love these!! They would make great easter gifts for those kids who cant have chocolate
Eileen M Loya
April 8, 2020You are so creative! I love all your designs, but I like the rainbow one the best. I am saving some money to get myself a Cricut. Hopefully by middle of this year, I will have enough to get one.
Rhian Westbury
April 9, 2020These are lovely backpacks and I love the wording on them especially the rainbows one. And they seem pretty simple to make x
Natalie
April 9, 2020Wow such a great idea. My kids gonna love this. Rainbow is my favorite!
Bella and Dawn at Dear Mummy Blog
April 9, 2020We always wanted to try iron-on vinyls and this set looks really good! Perfect for a crafting activity during lockdown x
Sarah ann
April 9, 2020These are amazing! Honestly, I would have thought they were shop bought or made by a master professional (no offence!) because they look ridiculously good. Great way for children to get involved personalising their school backpacks and encouraging creativity.
yana
April 9, 2020wow I even didnt think about this but I really need one for myself! and cannot find right one on the market! thanks for sharing
Monidipa
April 9, 2020The idea of this DIY backpack is easy and good. I can forward it so friends who have kids as it will be hlpful for them.
Emman Damian
April 10, 2020I love personalized items. It’s good that you can use Cricut for it. I really need this for my DIY projects.
Subhashish Roy
April 10, 2020I really envy those who are creative like you and are able to come out with such interesting makeovers. The backpacks look beautiful after all your efforts. I am learning too.